Learning how to ride a bike – a child could do it!
- Family
Learning how to ride a bike without falling off is easier than you think! That is if you use the draisienne method!
What is a draisienne?
A draisienne is a balance bike for kids. They are perfect as a first little bike, to try and find that wretched balance, and the draisienne method is based on that. This approach works for young and old and if you implement it step by step we guarantee that you will master the basics in no time – and come away unscathed!
Step 1: Transform the bike into a balance bike
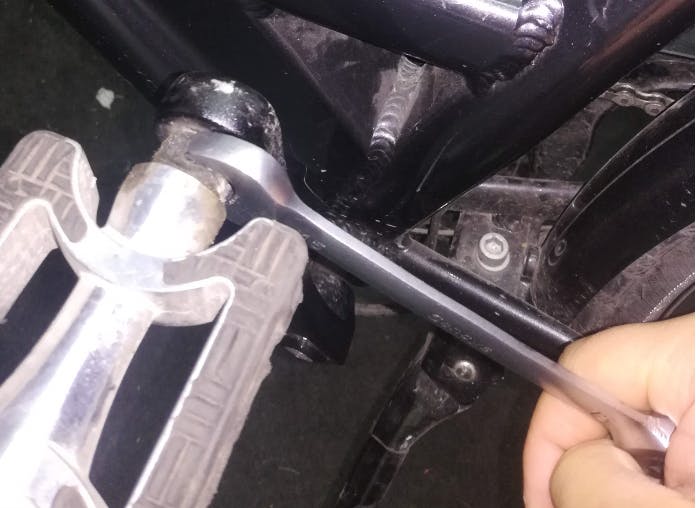
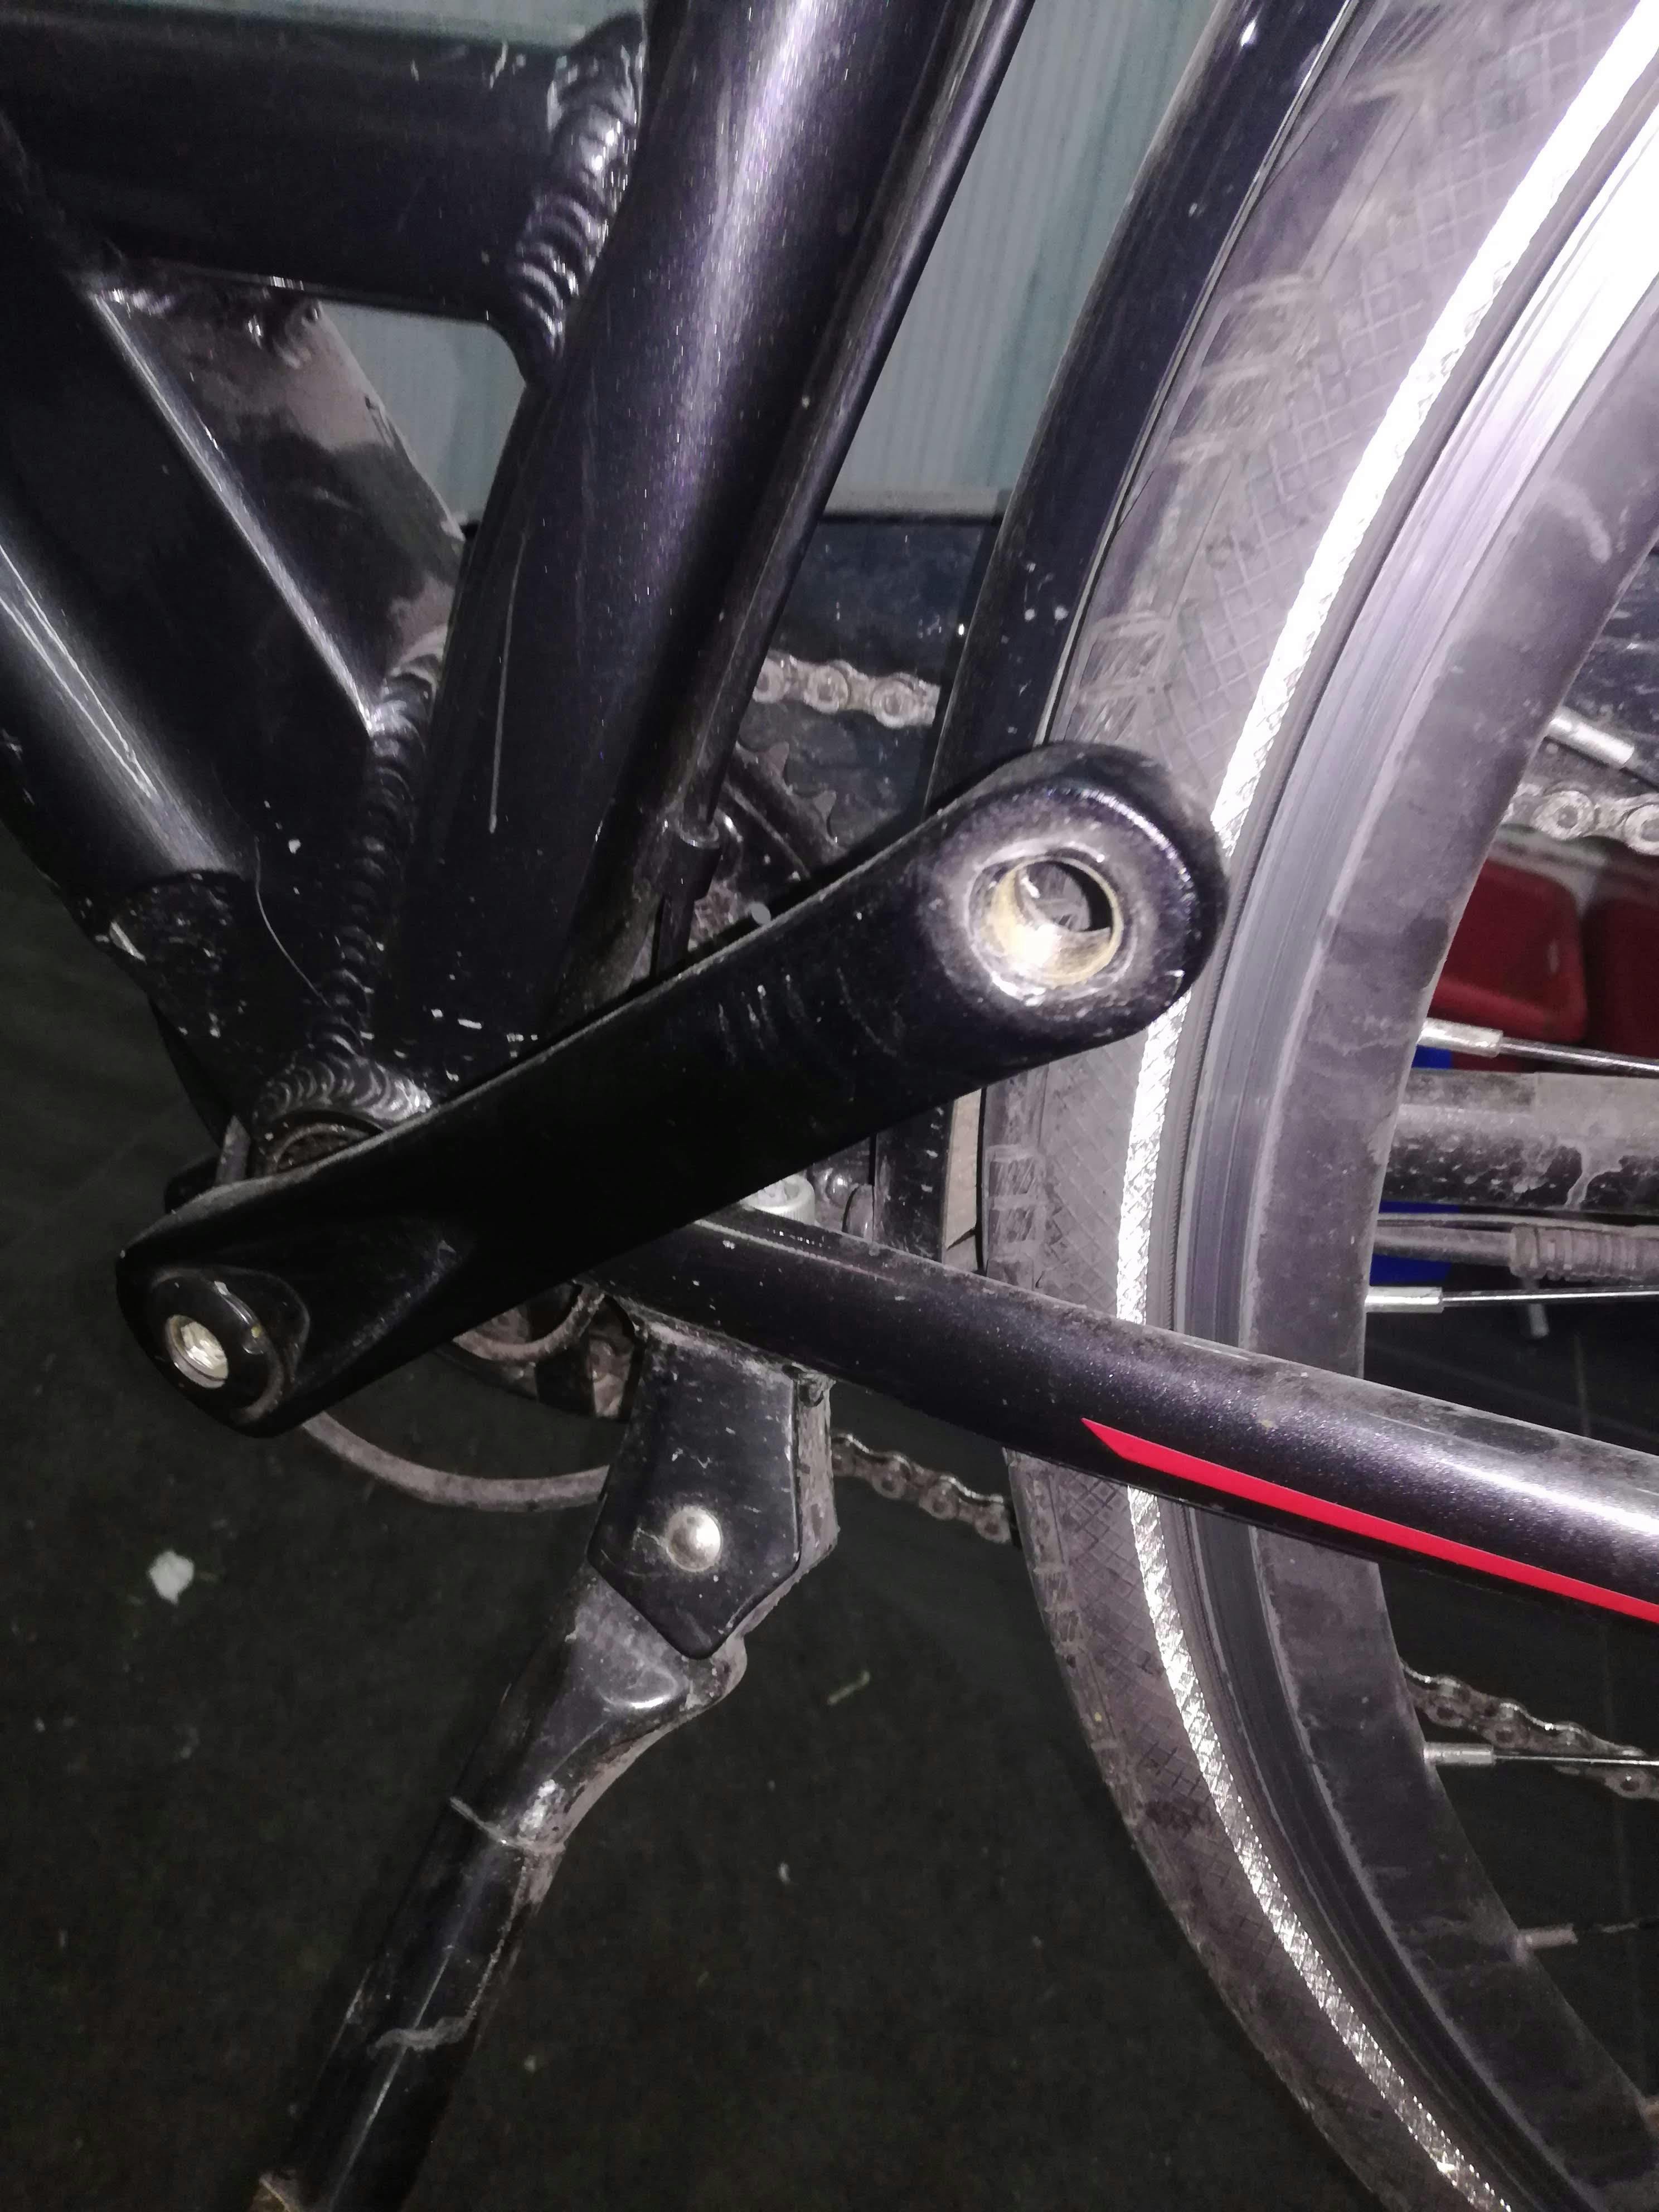
Remove the pedals
Don’t panic! This sounds a lot more technical than it actually is! Use a size 15 spanner to unscrew the pedals. Turn clockwise to remove the left peddle and anticlockwise to remove the right peddle. The pedals are usually screwed on quite tightly, but if you use a long spanner, you’ll see you can loosen them easily with a little effort. The only reason why the pedals should be removed is to make using the bike more comfortable. You can still use the draisienne method with pedals, but this will be quite tough on your shins.
The saddle
Once the pedals have been removed on both sides, you adjust the saddle to its lowest position. When seated, your feet should at least be flat on the ground. This is very important, because the lower your centre of gravity, the easier it is to find your balance. And when your saddle is low it also allows you to act quickly when you lose your balance, simply by putting your feet on the ground.
Step 2: Walk!
Push your bike to an area where you can and want to practice without being disturbed. This short walk already allows you or your child to gauge the handlebars’ responsiveness and the weight of the bike. It is also the perfect time to test the brakes and get more of a feel of these ‘intimidating’ wheels.
Step 3: Balance
Climb in the saddle and walk around. Can you manage? Then try and push yourself off a bit harder. Try and lift both feet off the ground a bit longer each time while your bike keeps rolling, until you notice you found your balance. But be careful: THIS. IS. NOT. A. COMPETITION. Take your time and don’t do anything rash. If you don’t feel comfortable lifting both feet off the ground, then just walk around a little longer while seated. Everyone does things at their own pace, so don’t be hard on yourself if you can’t manage straightaway. Some people have mastered this technique after half an hour, others need a few sessions to get going. If you find yourself getting frustrated, walk home and try again tomorrow.
It helps to do this exercise in an area with a slight slope. Then you don’t have to push yourself off too much and your bike will keep rolling for longer. This makes it easier to learn to keep your feet off the ground.
Step 4: Add pedals
Use a spanner to re-attach the pedals and if your saddle is extremely low, raise it until it is high enough to allow you to comfortably put both feet on the ground when seated. Find a slight slope and push yourself off. While rolling down the hill, put your feet on the pedals. Repeat this a few times until you find your balance.
Step 5: Pedal
As the title suggest – get pedalling! Most falls that occur during this step are due to recklessness on the part of inexperienced cyclists who soon get a taste for speed. But as we said before – this is not a competition! Pedal calmly, get a feel for your bike and get used to your new wings!
Step 6: Congratulations!
You’ve mastered the basics and that deserves a pat on the back! But don’t brave real traffic just yet. Start practising your basic manoeuvres!